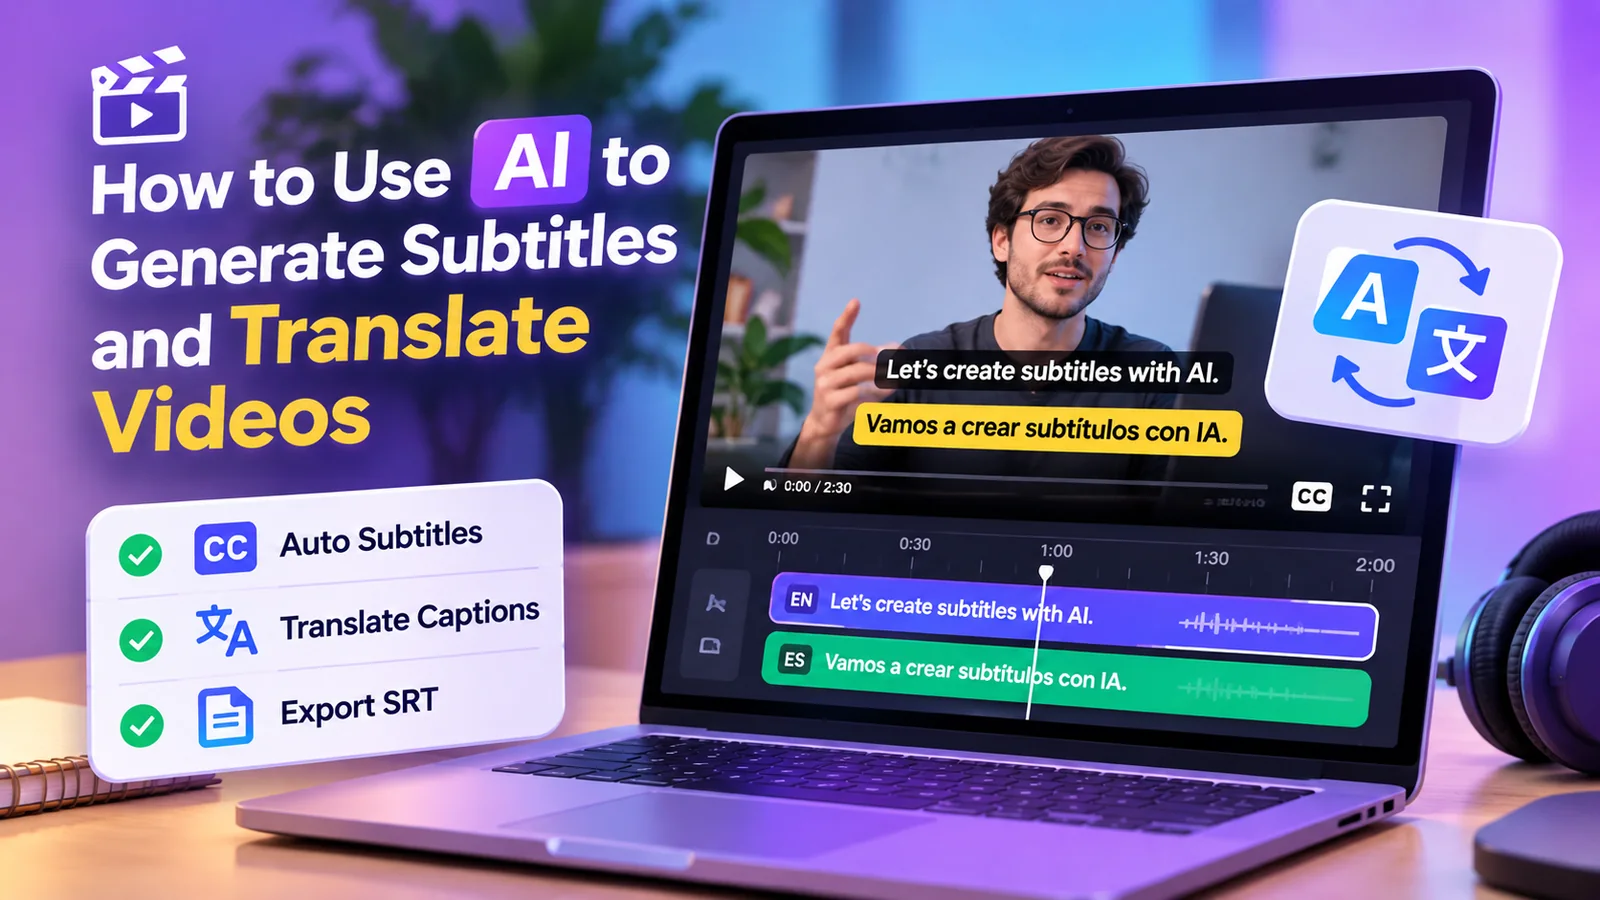
Adding subtitles to a video can take longer than editing the video itself. You have to listen to the recording, type the dialogue, match each line to the audio and then repeat the process if you want subtitles in another language.
AI tools can handle much of that work now. They can recognize spoken words, turn them into timed captions and translate the text into another language.
That makes a real difference if you’re publishing YouTube tutorials, preparing short videos for social media or creating lessons for people who don’t speak the same language as you.
There is still some editing involved. AI can misunderstand names, technical terms and quiet speech. Translated captions can also sound unnatural even when the original transcript looks correct.
In this guide, we’ll generate AI subtitles using CapCut, translate them into another language and prepare the result for publishing. We’ll also look at YouTube Studio and OpenAI Whisper if you’d rather work with separate subtitle files or process recordings locally.
What Can AI Actually Do with Video Subtitles?
Most AI subtitle tools start with speech recognition. The software listens to the audio, identifies the spoken words and creates a transcript.
It then divides that transcript into short sections and assigns timestamps so the captions appear as the person speaks.
For example, a short English video might contain this line:
Welcome back. Today we’re going to create a simple website.
A translation tool can generate a Spanish subtitle for the same moment in the video:
Bienvenidos de nuevo. Hoy vamos a crear un sitio web sencillo.
The original audio remains in English. Only the subtitles change.
That’s different from AI dubbing, which creates a translated voice track. Some video editors offer both features, but you don’t need dubbing simply to make a video understandable in another language.
Generate AI Subtitles with CapCut
For a beginner, CapCut is a practical place to start because you can generate, edit, translate and style subtitles without moving between several applications.
CapCut works in a browser and also has desktop and mobile versions. The interface isn’t identical everywhere, and some advanced features depend on the version, region or subscription.
The following walkthrough uses the general CapCut editing process. You can compare it with CapCut’s official auto-caption instructions if a button appears in a different location.
1. Upload a Video with Clear Speech
Open CapCut, sign in and create a new video project. Upload the recording you want to subtitle.
For your first attempt, use something short, ideally a one- or two-minute video with one person speaking clearly.
Play the recording before generating captions. Make sure the spoken audio is easy to hear and isn’t competing with loud background music.
The cleaner the recording, the less time you’ll usually spend correcting the transcript afterward.
2. Turn the Speech into Subtitles
In the editor, open Captions and look for Auto Captions.
Choose the language spoken in the video, then start generating captions. For an English tutorial, choose English as the recognition language.
CapCut will process the audio and add subtitle segments to your project.
Depending on the editor, you’ll see the generated captions in a text panel, on the timeline or directly over the video preview.
Don’t spend time choosing caption animations yet. First, check whether the words are right.
3. Fix Mistakes Before Translating
Automatic captions are a starting point, not a finished transcript.
Watch the video while reading each subtitle. Look especially closely at names, numbers, abbreviations and technical terms.
Imagine a programming tutorial where the speaker says “Nuxt” but the caption reads “next.” The sentence may look natural, but it isn’t accurate.
Correct mistakes in the caption editor. If a line appears too early or remains visible too long, adjust its timing as well.
Try to keep each caption short enough to read at normal playback speed. A transcript can be completely accurate and still make poor subtitles if too much text appears on screen at once.
Getting the original captions right is especially important if you plan to translate them. An incorrectly recognized word can turn into an entirely different sentence in another language.
How to Translate Video Subtitles with AI
Once the original captions are accurate, you can create a second version for viewers who speak another language.
CapCut has a bilingual subtitle feature that can recognize speech and generate translated captions. The official bilingual subtitles guide covers the web, desktop and mobile workflows.
4. Select the Language You Want
Open the translation or bilingual subtitle option in the Captions section. Choose the language spoken in the recording and the language you want viewers to read.
For example:
Spoken language: English
Subtitle language: SpanishGenerate the translated captions and review the new text.
Some versions of CapCut let you display both languages together. Others provide options for selecting which subtitle track appears in the finished video.
Check the available language and display options in the version you’re using.
5. Read the Translation, Not Just the Original Captions
Even when speech recognition gets every word right, the translation may need editing.
Instructions are a good example. A phrase like “open the terminal and run this command” should remain clear and precise in the target language. An awkward translation could confuse someone following the tutorial.
Idioms and informal expressions are another common problem. Translating every word literally doesn’t always preserve what the speaker meant.
If the video is important, ask someone fluent in the target language to review the subtitles. This is particularly useful for training materials, educational videos and anything containing technical instructions.
Make the Subtitles Comfortable to Read
Good subtitles don’t need complicated effects. They need to be readable.
Use a straightforward font, readable text size and enough contrast against the video. White text with a dark outline or semi-transparent background is often a practical choice.
Avoid covering important information. If you’re demonstrating an application, for example, captions shouldn’t hide buttons or code near the bottom of the screen.
Translated subtitles may also take up more space than the original text. A sentence that fits neatly in English might require an extra line in another language.
Preview the video on your phone before exporting it. Text that looks readable on a desktop monitor can be awkward on a smaller screen.
Export Your Video or Save an SRT File
Once you’ve checked the words, translation and timing, decide how you want to use the subtitles.
You have two common options.
Export a Video with Captions on Screen
If you’re making a short video for social media, exporting the video with captions permanently displayed may be the easiest option.
These are called burned-in subtitles. Viewers see them as part of the video image, and they can’t switch them off or change the language.
This is convenient when you want the same subtitles to appear everywhere the video is shared.
Export Subtitles as an SRT File
For YouTube or another platform that supports selectable caption tracks, an SRT file may be more useful.
An SRT file is a plain-text document containing the subtitle text and the timestamps for each caption.
A simple example looks like this:
1
00:00:01,000 --> 00:00:03,500
Welcome to today's tutorial.

2
00:00:03,500 --> 00:00:06,000
Let's create our first project.Some CapCut versions support SRT export directly. Others have different caption export options, so check what’s available in your editor before relying on this feature.
CapCut’s subtitle export guidance covers common problems with SRT and text exports.
Can You Generate Subtitles Directly on YouTube?
Yes. If your video is already on YouTube, you may not need to use CapCut at all.
YouTube automatically generates captions for supported languages when its speech recognition system can process the audio.
To check the captions on a video you uploaded:
- Open YouTube Studio.
- Select Subtitles from the left menu.
- Choose the video you want to work on.
- Open the automatic subtitle track, if one is available.
- Review the transcript and correct any mistakes.
YouTube warns that automatic captions can be inaccurate when speech contains unusual accents, background noise, overlapping voices or unclear pronunciation. You should review them before treating them as finished subtitles.
Its automatic captioning guide explains the limitations and editing process.
Add Subtitles in Another Language
You can also upload separate translated subtitle tracks for your YouTube videos.
In YouTube Studio, open the video’s Subtitles section, select Add language, choose your target language and add the corresponding captions.
If you already have a translated SRT file, upload it. YouTube will use its timestamps to display the subtitles during playback.
Some viewers can use YouTube’s automatic subtitle translation in the video player, but that is not the same as publishing a translation you’ve reviewed yourself.
The YouTube subtitle guide covers adding language tracks and uploading caption files.
Generate Subtitles Locally with OpenAI Whisper
Online editors are convenient, but not every recording belongs on a third-party server.
For example, you may be transcribing a private interview or an internal training video. If you’d rather process the file on your own computer, the open-source Whisper project is worth a look.
Whisper can generate transcripts and timed subtitle files from audio or video recordings. It runs locally after you’ve installed the required software and downloaded a model.
This method is more technical than CapCut, but it can be useful if you regularly work with recordings and prefer command-line tools.
Install Whisper
You’ll need Python and FFmpeg. On Ubuntu or Debian, install FFmpeg with:
sudo apt update
sudo apt install ffmpegIt’s best to install Whisper inside a Python virtual environment:
python3 -m venv .venv
source .venv/bin/activate

python -m pip install -U openai-whisperOn Windows, the environment activation command is different. You will also need FFmpeg installed and available on your system’s PATH.
Check Whisper’s official setup instructions if installation fails or your Python version isn’t supported.
Generate an SRT File from a Video
Suppose your recording is named tutorial.mp4. You can generate English subtitles with:
whisper tutorial.mp4 --model turbo --language English --task transcribe --output_format srtWhisper will process the audio and write an SRT subtitle file. The first run may take longer because the model needs to be downloaded.
The time required depends on the length of the recording and the processing power available on your computer.
Translate Non-English Speech into English
Whisper also supports speech translation into English. For example, to generate English subtitles from Japanese speech:
whisper japanese-video.mp4 --model medium --language Japanese --task translate --output_format srtNotice that this command uses medium, not turbo.
According to the official Whisper documentation, the turbo model isn’t trained for translation tasks. If you want speech translated into English, use a multilingual model such as medium.
Whisper’s built-in translation task targets English. To translate English speech into Spanish, German or another language, you’ll need an additional translation step or a tool that supports that language pair directly.
And remember that local processing doesn’t remove the need for reviewing the transcript. Names, accents and specialized vocabulary can still cause errors.
CapCut, YouTube or Whisper: Which One Should You Use?
| Tool | Good Choice For | Keep in Mind |
|---|---|---|
| CapCut | Short videos, social media and visual subtitle editing | Translation and export features vary by version or plan |
| YouTube Studio | Videos already published on YouTube | Automatic captions still need proofreading |
| Whisper | Local transcription and SRT file generation | Requires setup and doesn’t directly translate speech into every target language |
For a short video that needs subtitles on screen, I’d start with CapCut.
For a YouTube tutorial where viewers should be able to select different languages, separate subtitle tracks make more sense.
If you need to process recordings locally or generate caption files without a visual editor, Whisper is a useful alternative.
A Few Mistakes Worth Checking Before You Publish
The most common issue isn’t that AI produces completely unreadable subtitles. It’s that the captions look convincing enough that small mistakes get missed.
Before uploading your finished video, check the following:
- Names and technical terms: Make sure products, people and commands are written correctly.
- Numbers: Check prices, dates, measurements and any figures that matter to the instructions.
- Timing: Captions should appear when the words are spoken, not several seconds afterward.
- Readability: Avoid long lines and text that covers important parts of the video.
- Translations: Check that the meaning has been preserved, particularly for tutorials and educational videos.
Also think about privacy. If a recording contains sensitive business information or personal conversations, review the online editor’s data-handling terms before uploading it. Local transcription may be more suitable for some recordings.
Try It with a Short Video First
Record a one-minute explanation of something simple, perhaps a software feature or a quick tutorial.
Generate the captions, correct the original transcript and translate it into one additional language. Then watch the finished result at normal speed on your phone.
If you can understand the instructions without pausing constantly to read the text, you’re on the right track. If the subtitles move too quickly or cover important parts of the video, adjust them before publishing.
For more practical tutorials on using AI tools, browse our Artificial Intelligence guides on BountyScript.